Taking apart the IQOS device can be a tricky task. But don’t worry, it doesn’t have to be! With this step-by-step guide, you’ll be able to break down the IQOS device with ease. So, let’s get started!
Disassembling Your IQOS Device
Disassembling your IQOS device is a straightforward process that requires minimal tools. First, remove the battery from the device by gently pushing down the release switches on either side of the battery.
Once the battery is removed, unplug the USB cable and the frame that connects to the device. Now, you can easily unscrew the IQOS device and begin your journey of exploration into its inner workings. Just don’t forget to reassemble it afterward!
Once the battery is removed, you can access the other components of your device. Simply unscrew the screws at the base of your device and carefully pull apart each component to start disassembling your IQOS device.
Besides the easy accessibility of components, the IQOS device has also been designed to make cleaning and replacing parts incredibly simple. All you have to do is unscrew the screws at the base of your device and carefully pull apart each component to start disassembling your IQOS device.
With a such straightforward design, IQOS provides an easy and convenient way for users to clean and maintain the device, allowing them to maximize their experience with the product.
Reassembling Your IQOS Device
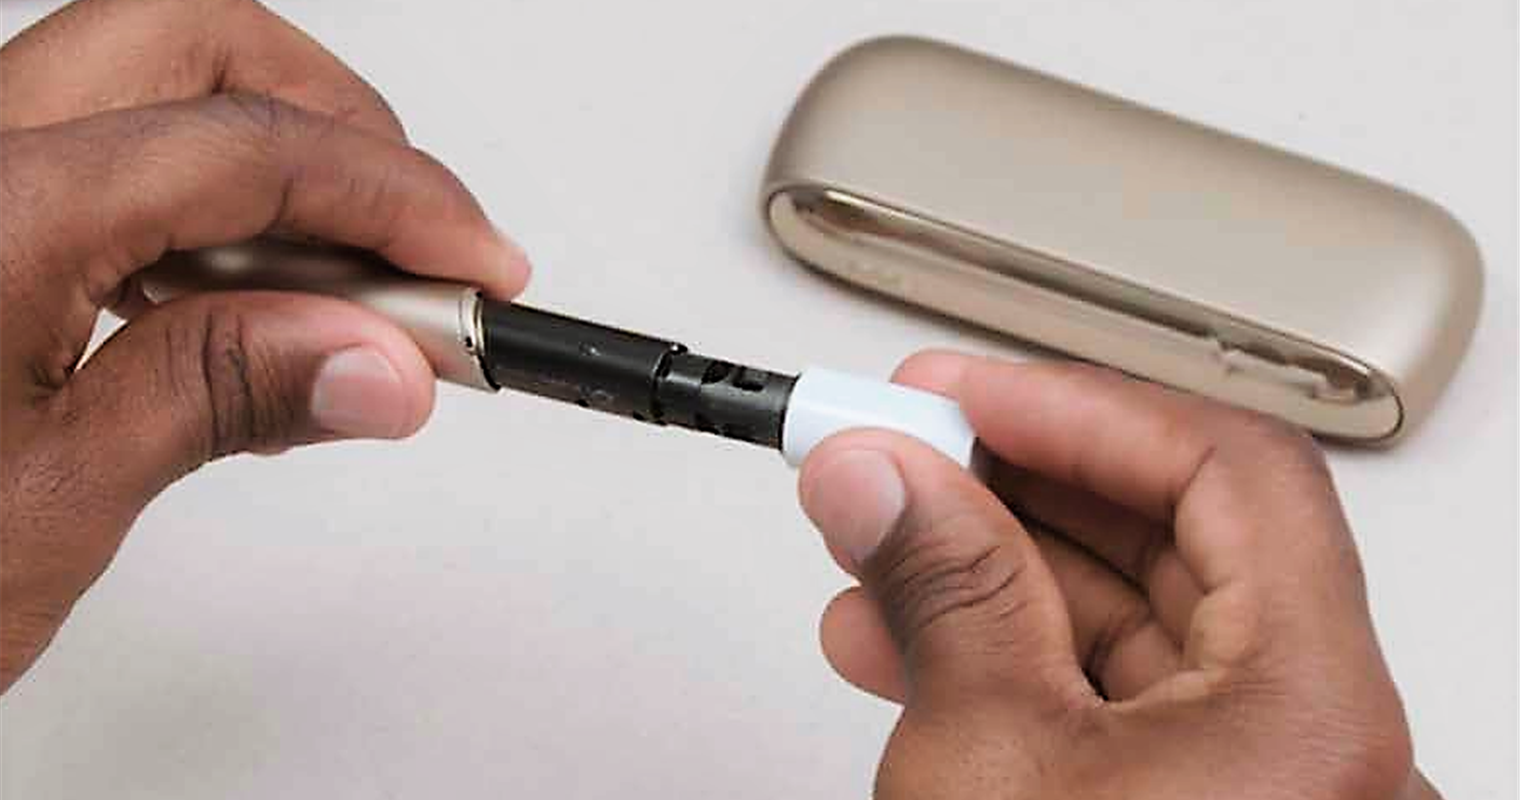
Reassembling an IQOS device is a quick and easy process. To begin, make sure that all the parts are in front of you, including the holder, pocket charger, and thermoplastic mouthpiece – it’s like a jigsaw puzzle, but without the frustration of not having enough pieces.
With these pieces in hand, you’ll have your new IQOS ready to use in no time! Place the holder inside the pocket charger, click the thermoplastic mouthpiece into its place, and you’re done!
While it may not be rocket science, it’s still a satisfying feeling of accomplishment knowing that you can put together an IQOS device with ease.
First, insert the holder into the pocket charger until it locks securely in place. Then insert the thermoplastic mouthpiece onto the holder until it snaps in snugly. This is the tried and tested IQOS method to ensure users get the perfect puff of pleasure every time they enjoy their IQOS device.
True connoisseurs know that IQOS is the ultimate vaping sensation when it comes to quality and taste. So, don’t miss out on this incredible experience and follow the instructions with your IQOS device – trust us, you won’t regret it!
Finally, plug the pocket charger into a USB port and wait for the LED light to turn solid green before unplugging it from the power source and you’re ready to use your IQOS device again! All in all, using an IQOS device is simple and convenient.
With just a few steps, you can get your device fully charged and ready to go. Just plug your pocket charger into a USB port, wait for the LED light to turn green, unplug it from the power source and you’re good to go! It’s that easy – so why not give it a try?
Conclusion:
Taking apart the IQOS device can seem like a daunting task, but with the right tools and instructions, it is perfectly manageable. As long as you follow the steps above and take your time, you are sure to have your IQOS device successfully disassembled in no time. Good luck!
Leave a reply